Studio Queues Team · Last updated July 17, 2026
Build a twitch art streaming setup that actually works: OBS scenes, lighting, overlays, bitrate, and a pre-stream checklist for illustrators.
A Twitch art streaming setup is not a Twitch gaming setup with a drawing tablet bolted on. The camera framing is different, the scene composition is different, the lighting math is different, and what viewers actually watch (your canvas, not your face) sits in a different place on screen. Most streaming guides ignore this because they were written for gamers, and artists end up copying settings that leave their canvas dark, their pen strokes laggy, and their chat wondering what they are looking at.
This guide covers what a working twitch art streaming setup needs from end to end: OBS scenes, tablet framing, lighting, audio, overlays, bitrate settings, and the pre-stream checks that keep a stream on the air. It is written for illustrators, VTuber artists, and character artists selling commissions to a live audience. The tools referenced are free or already on most artists' machines.
Before touching OBS, get honest about what viewers are tuning in for. On a game stream, the game is the show. On an art stream, the canvas is the show. Everything else on screen (facecam, chat, commission queue, alerts) supports the canvas or steals attention from it. If you set up your scene the way a gaming streamer sets up theirs, viewers spend their time watching the wrong thing.
A functional twitch art streaming setup needs five things working together:
Miss any one of those and the stream feels off, even if you cannot immediately name why. The rest of this guide walks through each in build order, starting with OBS.
OBS Studio is free, open source, and the standard capture and streaming software for both Twitch and YouTube. According to the official OBS Sources Guide, scenes and sources are the fundamental building blocks: a scene is a saved layout, and sources are the individual pieces (your display capture, camera, images, browser overlays) that make up the layout.
Build at least three scenes for an art stream:
For the Main Canvas scene, use a Display Capture or Window Capture source pointed at your drawing application. Display Capture is more reliable if you tab between reference images and your canvas. Window Capture is cleaner if you only ever draw in one program. Position the capture to fill roughly 70 to 80 percent of the stream area, anchored to whichever side leaves visual room for chat and overlay.
Facecam sits in a corner. 240 by 180 pixels or thereabouts. If you cannot decide which corner, put it opposite your dominant hand: right-handed artists tend to lean and gesture to the right, so a bottom-left facecam catches you naturally. Round-crop the facecam using a mask or a shape filter so it does not look like a rectangle floating on your canvas.
Camera quality matters less than framing. A webcam at 720p, positioned well, beats a 1080p webcam positioned poorly. Sit close enough that your head fills roughly a third of the facecam frame. Head-and-shoulders framing reads better on a small stream inset than a wide shot of your whole desk.
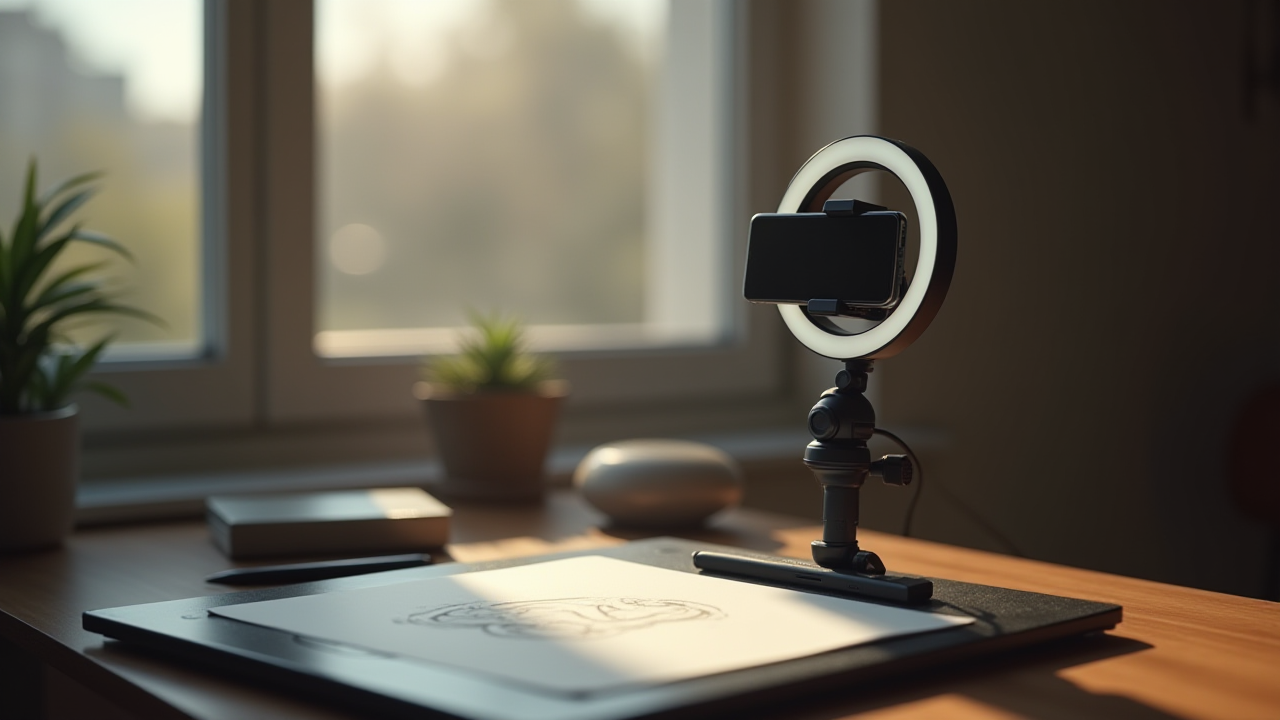
Lighting has two jobs on an art stream: keep your face visible and keep glare off the tablet. A single key light in front of you (a $30 ring light or a soft box) handles the face. To avoid glare on a glossy tablet screen, position the key light above the horizontal plane of the tablet and slightly to one side. If light bounces off the tablet directly into your eyes, it will do the same for your camera. Test by looking at the tablet from where your camera sits.
Avoid overhead ceiling lights as your only source. They create harsh shadows under the eyes and typically flicker at a frequency the camera picks up. If you cannot control your room lighting, at least add a warm-tone lamp behind you as a rim light to separate you from the background.
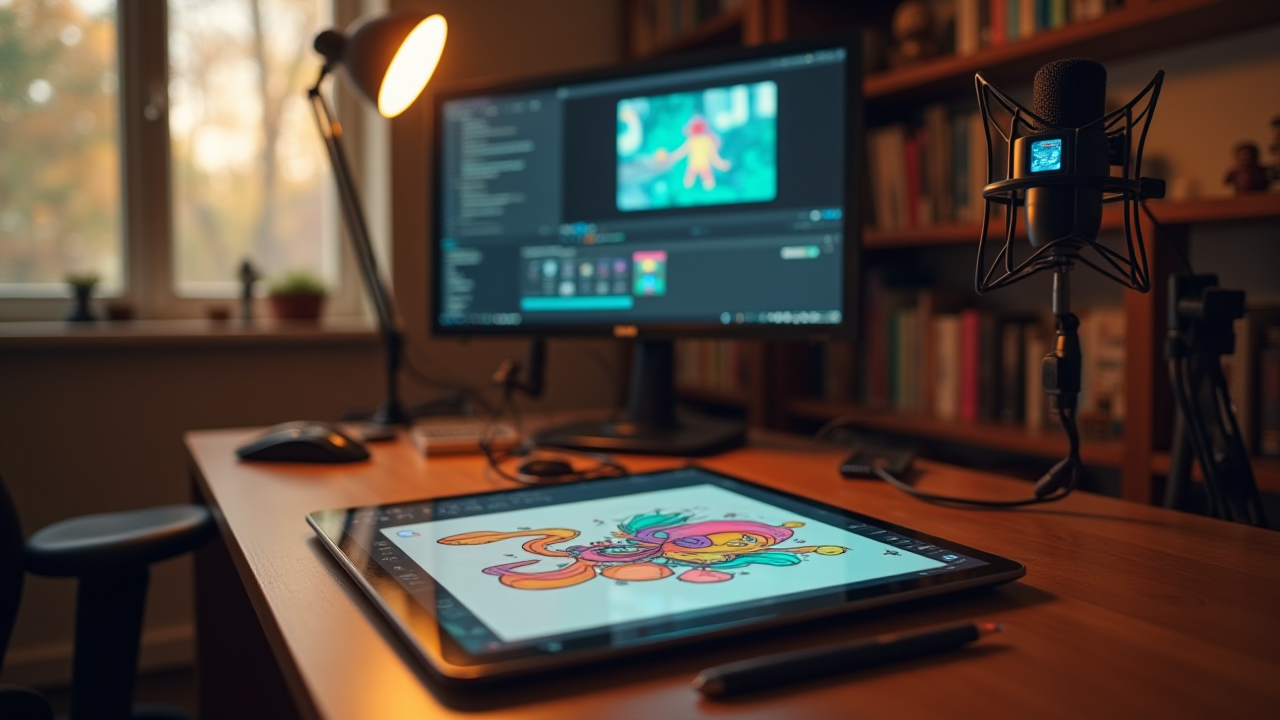
For audio, a USB condenser microphone in the $80 to $150 range (Blue Yeti, Elgato Wave, Fifine K678) captures voice cleanly and rejects some room noise. Position it 6 to 10 inches from your mouth, off-axis so you are not breathing directly into the capsule. In OBS, add a Noise Suppression filter (RNNoise mode) and a Noise Gate. The gate cuts audio below a threshold, so keyboard typing and pen tapping do not broadcast. Test both filters live before your first real stream.
Overlays are how viewers know what they are watching, what commission is in progress, and how to buy one. Most overlays are built as browser sources. The OBS Browser Source feature loads a webpage as a scene element, and it is the standard way to display commission queue widgets, alerts, chat boxes, and countdown timers on stream.
An art-stream overlay should show, at minimum:
Chat integration is the other half. Streamers who never look at chat have shorter streams and fewer returning viewers. Configure OBS to display a chat overlay on your secondary monitor (not on the stream itself, unless you want viewers reading their own messages). Chat bot commands like !commission, !queue, and !prices let viewers pull up the info they need without waiting for you to answer.
Nightbot, StreamElements, and Fossabot all handle basic command setup for free. Pick one and stick with it. The command names matter less than the fact that they exist and return consistent answers. Viewers will remember three or four commands if you use them consistently across streams. Adding a new command every stream just confuses regulars.
For a look at how streamer-native workflow tools handle overlays, chat commands, and queue display in one place, see how where you take commissions changes the fee math and the tools available around it.
The setting most beginners get wrong is bitrate, and the wrong choice makes even a beautiful canvas look like a smeared JPEG. Bitrate is the amount of data per second you send to Twitch. Higher bitrate means more detail preserved during encoding. But your upload speed caps how much bitrate you can push before the stream drops frames.
Practical bands, based on standard broadcasting guidance from major streaming platforms and encoder manufacturers:
Test your actual upload speed and use roughly 75 percent of it for streaming bitrate, so other applications (Discord, browser, cloud sync) have bandwidth. Art streams do not need 60 fps the way fast-motion games do. Drawing at 30 fps looks perfectly smooth to viewers and cuts bitrate demand in half.
Twitch's platform-side documentation on playback issue troubleshooting notes that extremely high bitrates or encoder misconfigurations are among the leading causes of viewer buffering. Higher is not always better. If your upload is not stable, a lower bitrate that never stutters looks better on the viewer side than a higher bitrate that drops frames.
For encoder settings in OBS, use x264 if you do not have a dedicated GPU encoder, or NVENC (H.264) on RTX cards. Set keyframe interval to 2 seconds. Set CPU usage preset to "veryfast" as a starting point. Set output resolution to match your stream: 1280x720 or 1920x1080. Downscale from your monitor's native resolution rather than trying to stream at 4K.
The five-minute check before you press "Start Streaming" prevents the most common on-air disasters. Run through this every time:
Do this every stream. Skipping it once is what leads to the thirty-minute stream where the audio was muted the whole time.
The overlay and chat command layer is where most streamer artists cobble together three or four separate tools: one for queue display, one for chat commands, another for donations, and a spreadsheet somewhere tracking what commission is actually up. That works, until the day one of them updates and breaks another.
Studio Queues is built to consolidate the operational layer of a twitch art streaming setup into a single tool. The queue overlay is an OBS browser source that pulls live from your commission queue, so what viewers see on stream matches what you actually have in your intake system. Chat bot commands like !commission pull the current job automatically. Milestone payments trigger stream alerts on delivery. New commission orders show up as chat alerts so you know when to acknowledge them on air.
The framework in this guide works with any workflow tool or with none at all. What consolidation buys you is fewer moving parts, which matters most when you are three hours into a stream, in flow, and do not want to be maintaining infrastructure. To see more resources on running the commission side of an art stream, browse the Studio Queues resources for commission artists library.
A functional twitch art streaming setup comes down to five things: a canvas capture at the right size, a small and consistent facecam, an overlay that shows what viewers need, lighting and audio that stay out of the way, and stream settings that match your upload speed. OBS handles the capture. A browser source handles the overlay. A microphone with a noise gate handles the audio. Everything else is polish.
Skip the temptation to over-engineer scene transitions, sound effects, and animated overlays before your first stream. Get the fundamentals working, run five streams, then add the polish where it actually adds to the show. Streaming your commissions is a marathon, not a launch.
If you want a workflow tool that ties overlays, chat commands, milestone payments, and queue display together in one place, you can lock in 0% platform fees while founding artist spots are still open. The founding artist program keeps 0% platform fees active for as long as your premium subscription stays active, and only the first 500 spots are available. Payment processing fees (Stripe) still apply the same way they would on any platform.