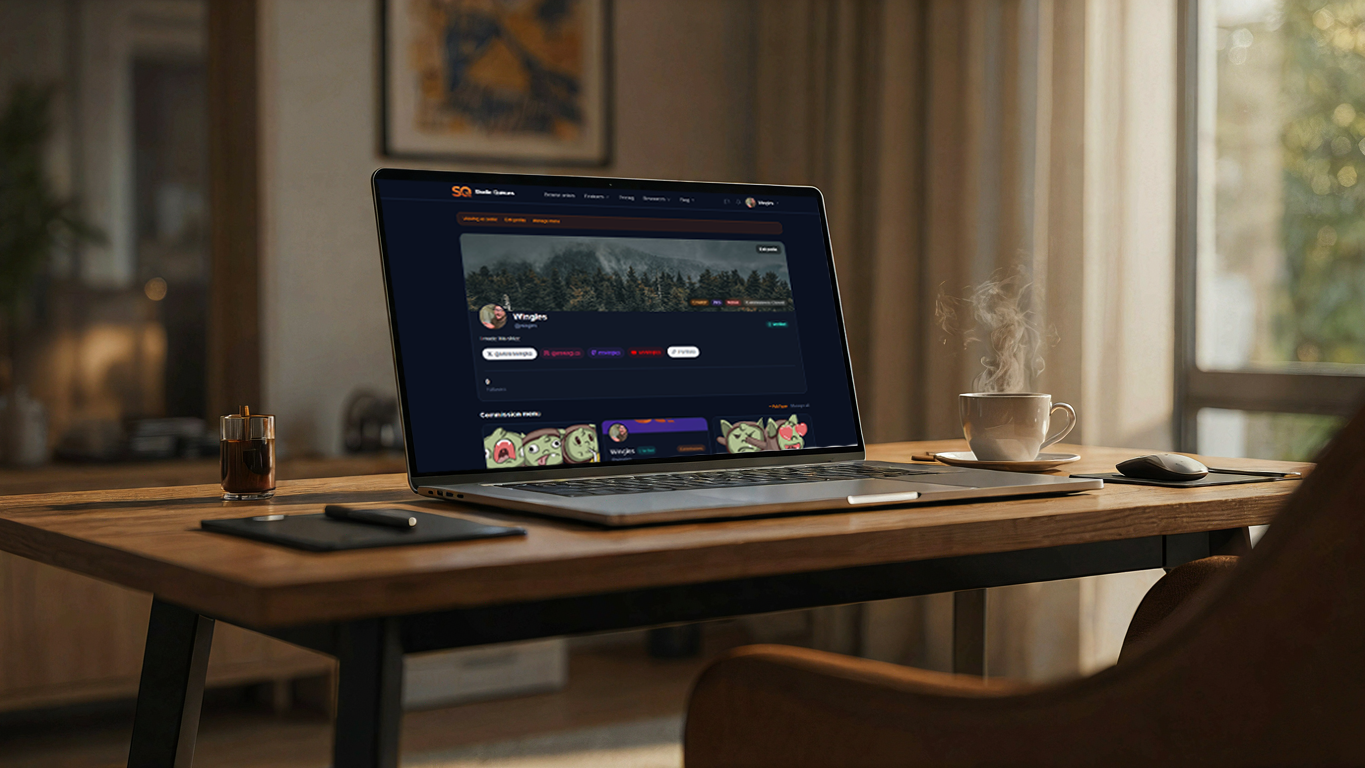
Set up your commission business on Studio Queues in 10 minutes. Finish your profile, connect payouts, build your menu, and open your queue to start taking
Welcome to Studio Queues. Getting started on Studio Queues takes about ten minutes, and by the end of it you will have a working commission business: a profile clients can trust, payouts connected, a menu of what you offer, and an open queue ready to take requests. This guide walks through each setup step, explains why it matters, and points you toward the deeper resources for running your commissions well once you are live. If you would rather just follow the checklist, every step below links straight to where you do it. If you want to understand what you are setting up and why, read on.
Finish your profile so clients know who they are hiring: picture, bio, socials.
Connect payouts through Stripe, which is required before your queue can open.
Build your commission menu with the work you offer, prices, and turnaround times.
Open your queue so clients can start requesting.
Streamers: set up your OBS overlays to put your live queue and alerts on stream.
Run everything from your dashboard once you are live.
Optional: go Premium. Founding artists (first 500) pay 0% platform fees for as long as their premium subscription stays active.
The whole process is about ten minutes, and most of that is deciding on your prices rather than clicking through screens. Here is roughly how the time breaks down:
Step | Roughly how long |
|---|---|
Finish your profile | 2 to 3 minutes |
Connect payouts (Stripe) | 2 to 4 minutes |
Build your commission menu | 3 to 5 minutes |
Open your queue | Under a minute |
OBS overlays (streamers) | 5 minutes, optional |
You can do it all in one sitting, or set up the essentials now and refine your menu later. The only hard requirement before your queue can open is connecting payouts, so if you are short on time, the profile and payout steps are the ones to prioritize.
Your profile is the first thing a potential client sees, and it does a real job: it tells them who they are hiring and whether they can trust you with their commission. Commissioning art is an act of faith, since the buyer pays before they see the finished piece, so anything that builds confidence up front helps you get more work.
Add three things: a profile picture (ideally a piece of your own art or a clear avatar that represents you), a short bio that says what you do and what you are about, and your social links so clients can see your fuller body of work. A complete profile signals that you are a real, established artist rather than a blank account, which matters a lot to a first-time client deciding whether to commission you.
You can finish your profile here: studioqueues.com/artist/settings.
This is the one step you cannot skip, because your queue cannot open until payouts are connected. Studio Queues handles payments through Stripe, which is how you actually get paid for your work, so linking your Stripe account is what turns your setup into a working business.
Connecting Stripe also enables the payment protection that benefits both you and your clients: milestone-locked staged payouts, where each stage of a commission releases its payment as it is approved, and a full timestamped record of every transaction. That structure protects you against non-payment and gives you documented history if a dispute ever comes up. It is worth understanding why this matters, which is covered in why milestone payments protect both sides.
Connect your payouts here: studioqueues.com/artist/payments/setup.
Your commission menu is the heart of your business: it lists the types of work you offer, with prices and turnaround times, so clients know exactly what they can request and what it costs. A clear menu does two things at once. It lets buyers self-select into an option and a price they are comfortable with, and it lets you quote instantly rather than negotiating every commission from scratch.
For each type of work you offer, set a price and a realistic turnaround time. If you are not sure how to price, base your rates on your target hourly rate and the estimated hours each piece takes, with tiers for complexity and add-ons like extra characters or backgrounds. The full pricing method is worth reading if you are still setting your numbers, and the framing tiers that most menus use (bust, half-body, full-body) are explained in the guide on commission size tiers. Whatever you offer, structured pricing on your menu beats case-by-case guessing every time.
A well-built menu is also the foundation of a smooth queue, because it defines the scope of each commission type up front, which prevents the scope confusion that causes most commission disputes. Take a few extra minutes here; it pays off on every commission afterward.
Build your menu here: studioqueues.com/artist/menu/new.
Once your profile is done, payouts are connected, and your menu is built, opening your queue is the moment you go live. Flip it open and clients can start requesting commissions from your menu. This is the switch that turns your setup into an active business taking work.
Your queue is more than a list; it is the system that tracks each commission's order, milestone stage, payment status, and communication in one place, so you can take on work without losing track of it. The queue is designed to manage the operational load that otherwise piles up as you get busier, including automatic acceptance and delivery timeouts that keep stale commissions from sitting open indefinitely. For the bigger picture of running a queue as you scale, see queue management systems that scale.
You control when your queue is open and closed, so you can open it now to start taking work and close it whenever you are at capacity. Open your queue here: studioqueues.com/artist/queue.
If you stream your commission work, this optional step connects your stream to your queue. Studio Queues overlays put your live commission data on screen: a queue list so viewers can see what is ahead, a now-working display showing the piece you are on, and alerts that fire on commission events. Because these overlays read your actual live queue, they stay current on their own, without you updating anything mid-stream.
This is a genuine advantage of running your commissions and your stream on the same system: the overlay reflects the real state of your business automatically, rather than being a static graphic you have to keep editing. For streamers, that means less to manage during a stream and more focus on the art. The full picture of running commissions as a live-stream practice, including overlays, chat commands, and the workflow balance, is in the complete guide to streaming your art commissions.
Set up your overlays here: studioqueues.com/artist/settings/overlay.
That is it. With your profile complete, payouts connected, menu built, and queue open, you are running a working commission business on Studio Queues. From here, your dashboard is your control center: it is where you manage incoming requests, track commissions through their stages, handle payments, and communicate with clients, all in one place.
The value of having everything in one system becomes clear as you get busier. Instead of tracking your queue in a spreadsheet, payments in one tool, and client messages in another, your dashboard keeps the whole operation together, which is the difference between a business you have to babysit and one that largely runs itself. For the full picture of running a sustainable commission practice, from pricing to terms to taxes, see the complete guide to running a commission business.
Run everything from your dashboard here: studioqueues.com/artist/dashboard.
Studio Queues has a founding artist program worth knowing about while spots remain. Founding artists, the first 500 to join, pay 0% platform fees for as long as their premium subscription stays active. That means the platform takes no percentage of your commission earnings, which adds up meaningfully over time. Only the first 500 spots are available, so if the program fits your plans, it is worth acting while it is open.
One honest note on how this works: the 0% applies to Studio Queues platform fees. Payment processing fees through Stripe still apply the same way they would on any platform, since those go to the payment processor rather than to Studio Queues. So founding artists avoid the platform's cut, not the standard payment-processing cost that every online transaction carries.
You can look at the founding artist program here: studioqueues.com/premium/artist.
How long does it take to set up? About ten minutes, most of which is deciding your prices rather than clicking through screens. You can set up the essentials now and refine your menu later if you are short on time.
Do I have to connect Stripe before I can start? Yes. Connecting payouts is the one required step before your queue can open, because it is how you get paid. Everything else can be adjusted afterward, but the queue will not open until payouts are linked.
Do I need to be a streamer to use Studio Queues? No. The streaming overlays in step five are optional and only relevant if you stream your work. Everything else, from the menu to the queue to the dashboard, works the same whether you stream or not.
Can I change my menu and prices later? Yes. Your commission menu is fully editable, so you can add or remove offerings, adjust prices, and update turnaround times whenever you like. It is smart to revisit your prices as your skill and demand grow.
What does the founding artist program actually cover? Founding artists, the first 500 to join, pay 0% Studio Queues platform fees for as long as their premium subscription stays active. Stripe payment processing fees still apply separately, as they do on any platform.
When should I open my queue? As soon as your profile, payouts, and menu are ready. You control when the queue is open or closed, so you can open it to take work now and close it whenever you reach capacity.
Getting started on Studio Queues is a short, straightforward setup: finish your profile so clients trust you, connect Stripe payouts (the one required step before your queue can open), build a clear commission menu with prices and turnaround times, and open your queue to start taking work. Streamers can add live OBS overlays that read the queue automatically, and everyone runs the whole operation from one dashboard. The payoff of having profile, payments, menu, queue, and communication in a single system is that it keeps your business organized as you grow, rather than scattered across tools you have to reconcile by hand.
Once you are live, the deeper guides linked throughout this walkthrough cover pricing, queue management, streaming, and the full business of running commissions well. And if the founding artist program fits your plans, it is worth a look while spots remain: the first 500 artists pay 0% platform fees for as long as their premium subscription stays active, with only standard Stripe processing fees applying separately. Welcome aboard, and enjoy building your commission business.
